Quick Tips for Flipping and Adjusting Video Orientation on an Android Phone

Quick Tips for Flipping and Adjusting Video Orientation on an Android Phone
Key Takeaways
- If your recorded video is in the wrong orientation, you can easily rotate it using the Google Photos app on your Android device.
- This issue often occurs when you hold your phone in a way that is not firmly in landscape mode or if you start recording before the camera app can adjust the orientation.
- To rotate the video, open the Google Photos app, find the video you want to rotate, tap on “Edit,” switch to the “Crop” tab, and use the rotate icon to adjust the orientation. Save a copy of the edited video, and the original video will still be available. Never worry about recording in the wrong orientation again!
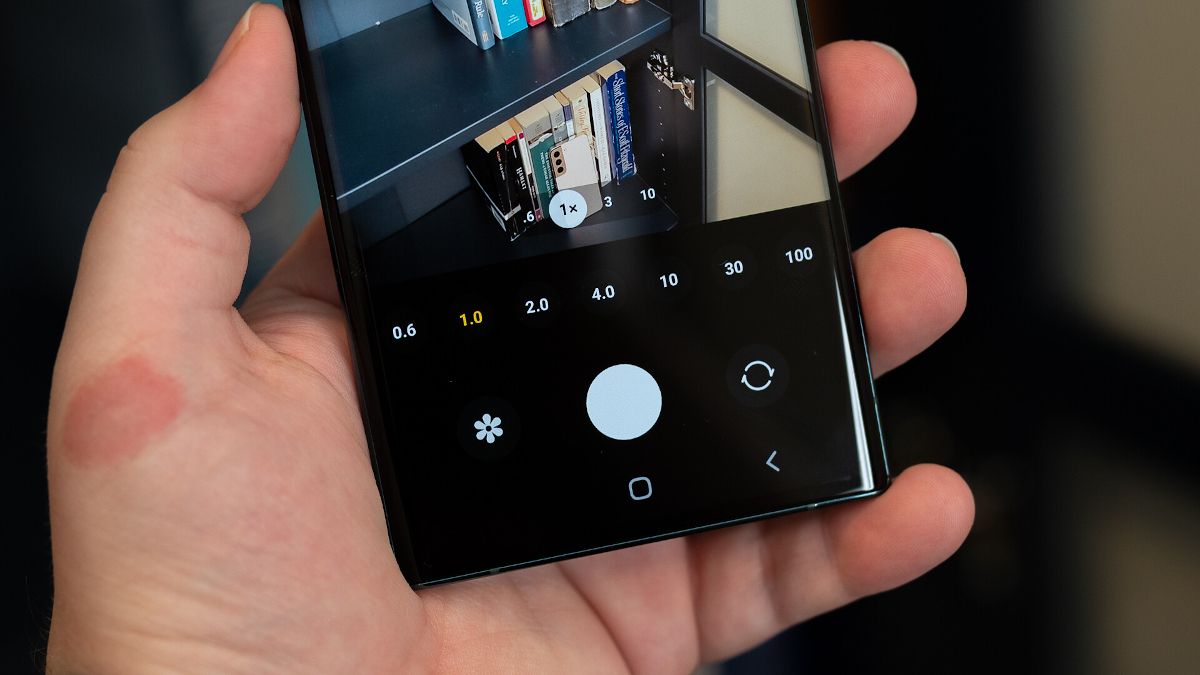
It’s happened to all of us. You recorded a video, but your phone didn’t detect that it was turned sideways . Now the video is in portrait instead of landscape as you intended. Don’t worry, you can rotate it.
This usually happens if you’re holding the phone in a way that’s not firmly in landscape mode, like if you point the phone down. It can also happen if you open the camera app and start recording before it can change orientation.
On other occasions, you may rotate your phone while recording a video. The orientation is locked after you start recording, so the parts of the videos where you rotated your phone won’t look right. If that’s what happened to you, you’ll want to trim off the first part before rotating the video.
Rotate Videos on Android With Google Photos
We’ll be using the Google Photos app to do this. It’s free and has tons of great features you may want to check out. However, for this guide, we’ll be sticking with the basics. You can skip through the initial set-up process.
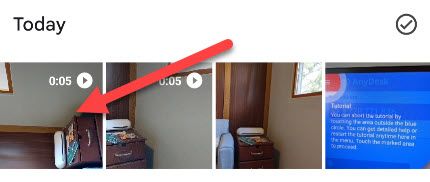
First, find the video that you’d like to rotate.

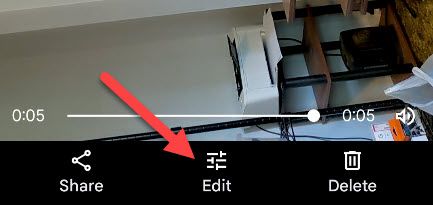
Next, tap the screen to bring up the controls—if they aren’t already visible—and tap “Edit.”

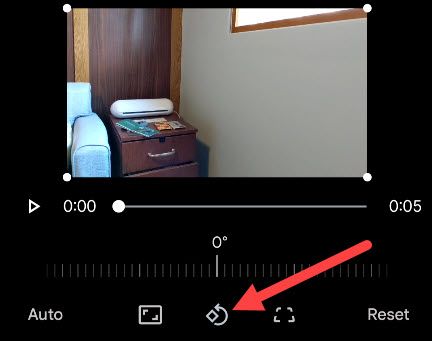
Switch over to the “Crop” tab in the bottom toolbar.

Now tap the rotate icon until the video is in your desired orientation.

When you’re done, tap “Save Copy.” Google Photos won’t let you overwrite the original video.

It’s as simple as that—the new video will be saved in your gallery in the new orientation! Since you saved a copy, the original video in the original orientation will also be available. Google Photos has a bunch of handy editing tools for both photos and videos . You probably don’t think about needing to rotate a video as much as rotating photos, but it’s handy to be able to do this when you need it. Don’t worry about holding your phone the wrong way again!
Also read:
- [Updated] The Ultimate iTunes Guide Mastering Recordings
- Digital Still Extraction Windows 11 Guide for Videos for 2024
- Exploring the Functionalities of the Omnicharge Omni 20: A Versatile, All-in-One Portable Battery Solution with Innovative Qi Wireless Feature
- How to Mirror Your Poco X5 Screen to PC with Chromecast | Dr.fone
- In 2024, Best Free Apple iPhone 14 Plus IMEI Checker
- Prevent Cross-Site Tracking on Motorola Edge 40 and Browser | Dr.fone
- Step-by-Step Tutorial for Manual Google Pixel OS Update Through Sideloaded Files
- Stop Your Android From Randomly Shaking: Expert Tips to Stop Unexpected Phone Vibrations
- Switching Your Primary Mobile Phone Application in Android
- Title: Quick Tips for Flipping and Adjusting Video Orientation on an Android Phone
- Author: Kevin
- Created at : 2024-09-11 16:15:28
- Updated at : 2024-09-16 16:11:33
- Link: https://hardware-reviews.techidaily.com/quick-tips-for-flipping-and-adjusting-video-orientation-on-an-android-phone/
- License: This work is licensed under CC BY-NC-SA 4.0.
