Preventing Nuisance Automated Calls: Tips for Android Users

Preventing Nuisance Automated Calls: Tips for Android Users
Key Takeaways
- Install the “Phone by Google” app and set it as the default phone app to start. Tap the three-line menu icon, go to Settings, and enable “See Caller and Spam ID” to be warned about potential spam calls.
- If you have a Google Pixel phone, go to Call Screen in Settings and toggle on “Automatically Screen Calls” and choose a protection level to screen and decline certain types of calls. Enjoy more control over your incoming calls.
Spam calls might be the worst thing about carrying a phone in your pocket every day. Thankfully, there are tools to help with this. We’ll show you how to block these annoying calls on your Android phone using one of Google’s own apps.
The “Phone by Google” app offers a number of ways to block specific numbers and unknown callers , and it can be installed on any Android phone. However, spammers and robocalls can often get around those blocking methods. We’ll need to set up a few other features to eradicate unwanted calls fully.
Previous versions of this guide showed how to use a feature called “Verified Calls.” Google quietly discontinued this feature sometime in 2022. We’ve updated the guide with current features for spam call blocking and screening.
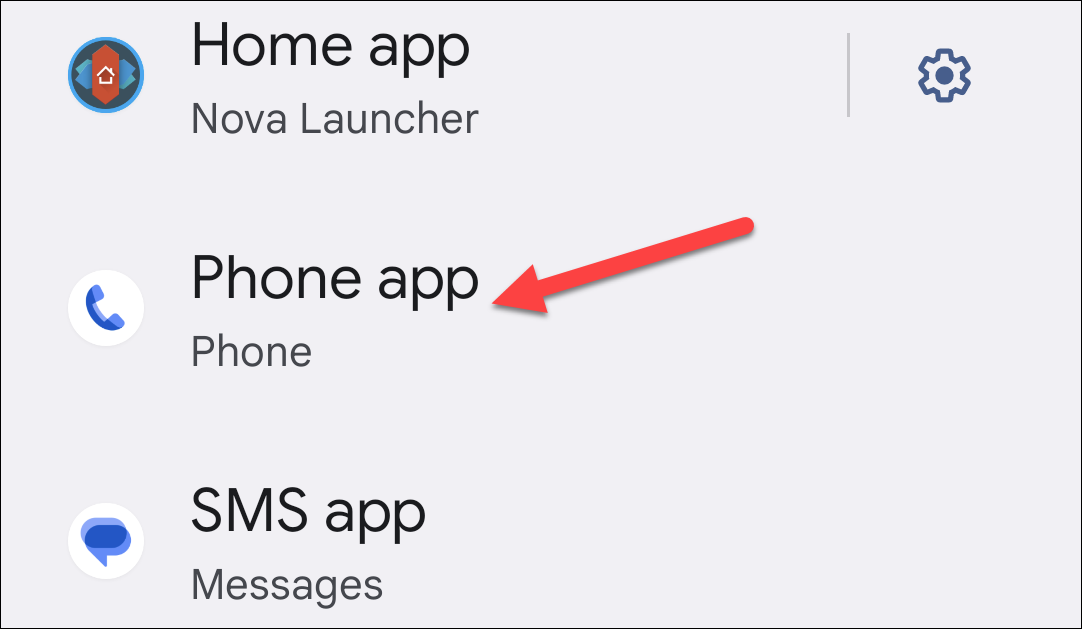
First, you’ll need to install the Phone by Google app and set it as the default phone app. If you missed the prompt to do this when first opening the app, it can also be done manually. The process is slightly different depending on the phone, but it will be something similar to Settings > Apps > Default Apps > Phone app.
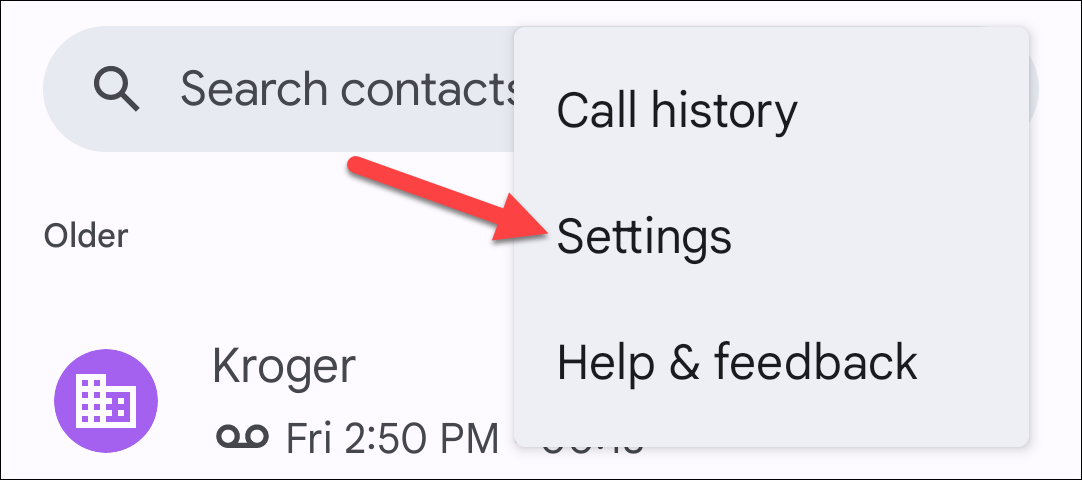
With that out of the way, let’s enable a couple of features to combat spam robocalls. First, tap the three-dot menu icon in the top corner and go to “Settings.”
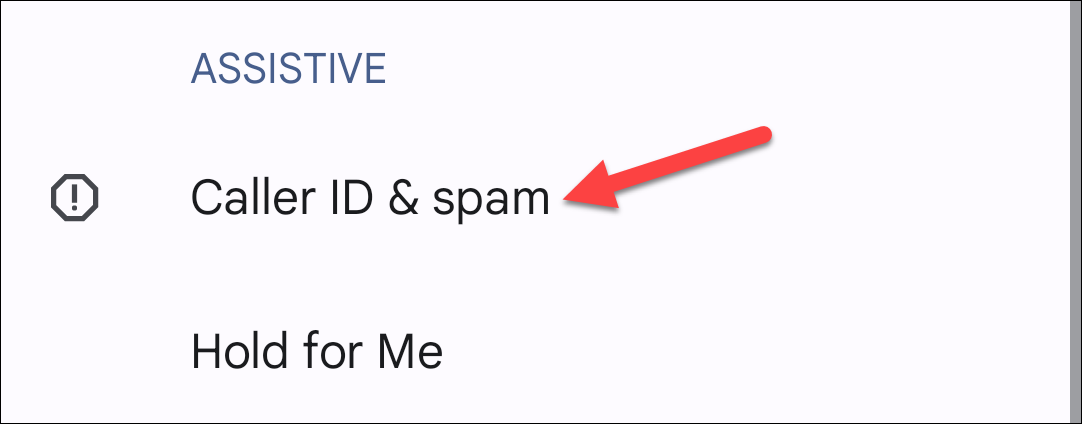
Go to “Caller ID & Spam.”
Toggle on “See Caller and Spam ID.” Google will attempt to show you information about who’s calling if they aren’t in your contacts list and warn you when a call is suspected as spam.
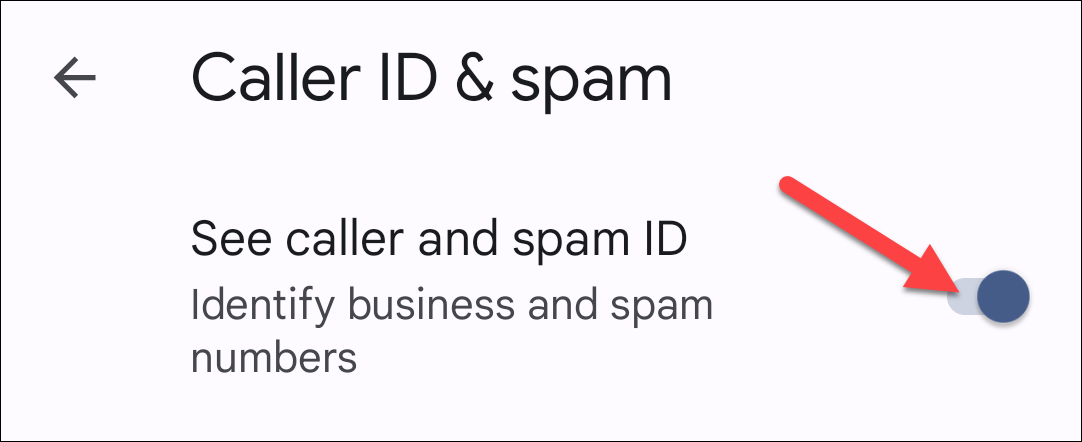
Depending on your phone, you may also see an option to “Filter Spam Calls.”

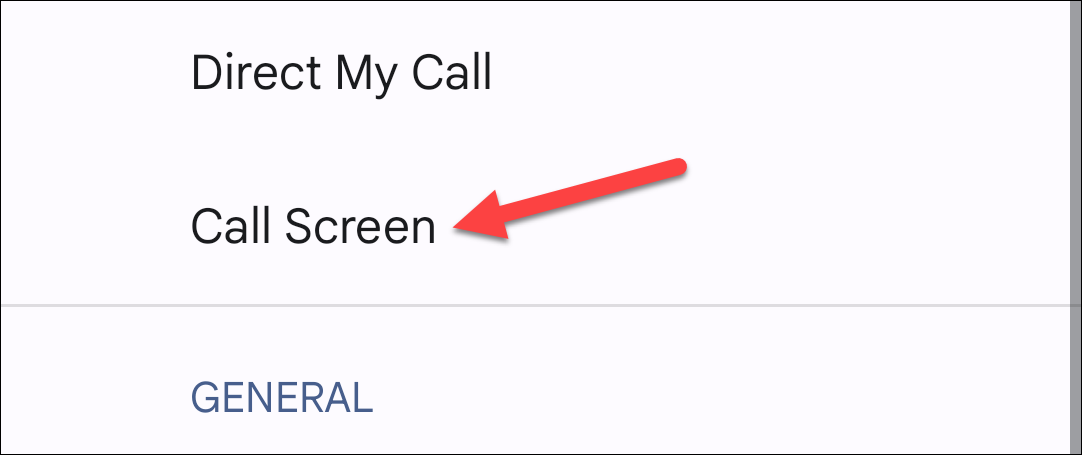
If you have a Google Pixel phone, go back to the main Settings screen and select “Call Screen.”
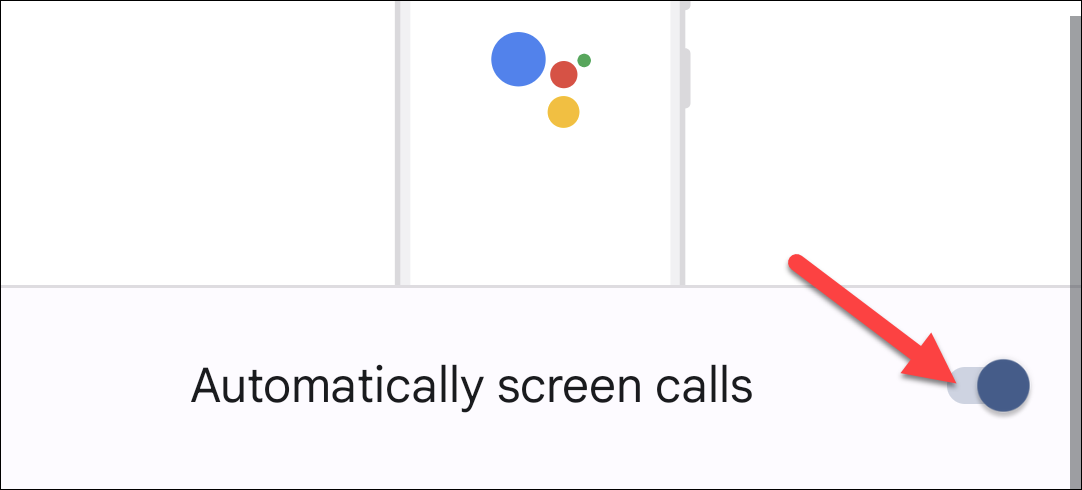
First, toggle on “Automatically Screen Calls.”
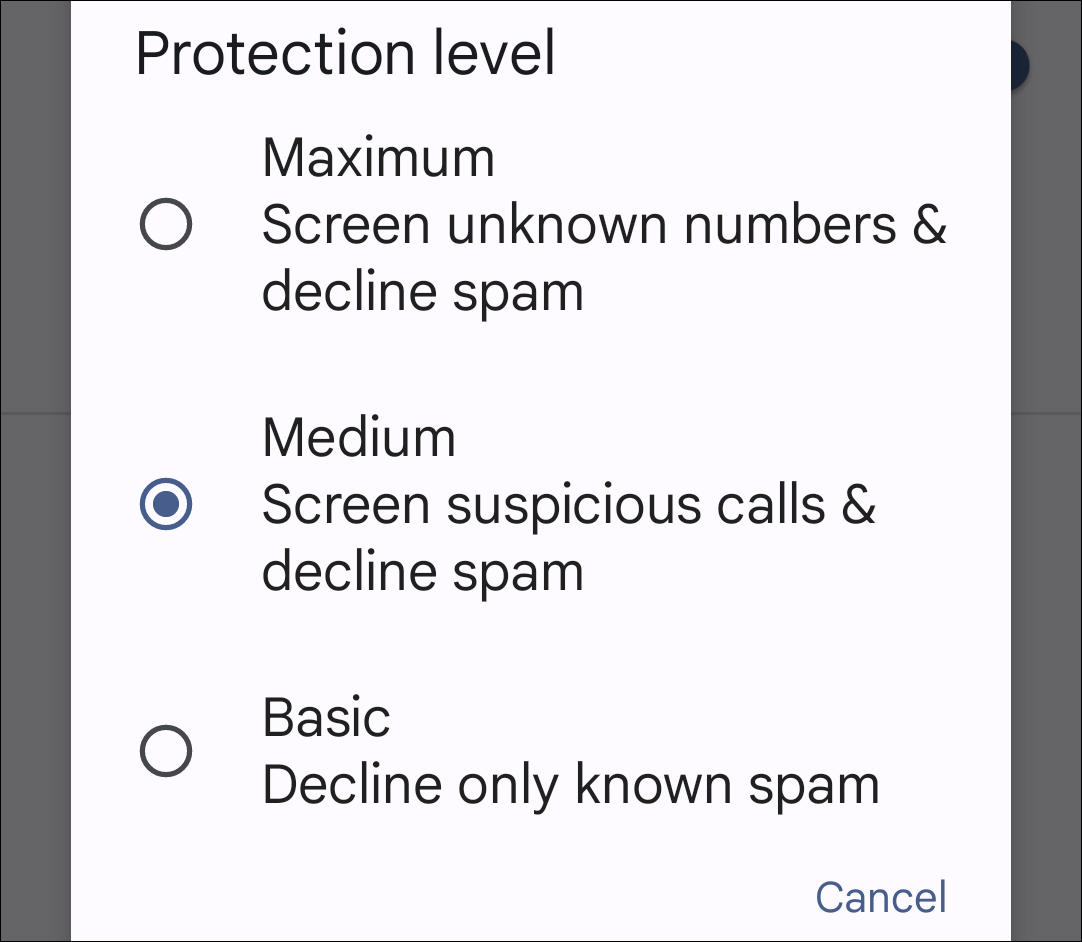
Next, tap “Protection Level.” This is how you’ll tell Google Assistant which calls you want to have screened and declined.
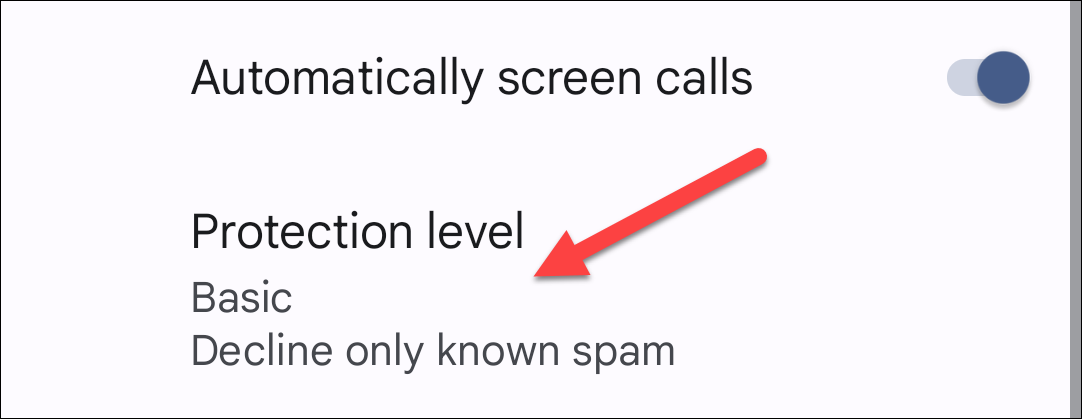
There are three protection levels to choose from:
- Maximum: Screens unknown callers and declines spam.
- Medium: Screens suspicious calls and declines spam.
- Basic: Only declines known spam.
That’s all there is to it! These options will give you more control over which calls can get through to you. The Call Screen feature, in particular, is awesome if you happen to own a Pixel, and there’s more where that came from .
Also read:
- 見えづらい映画の字幕をどうやってダウンロードし、追加する?
- Essential Tips: Preventing Common Pitfalls in Generative AI Utilization
- How Students Can Snag Significant Savings on Dell Products - Your Step-by-Step Blueprint!
- Introducing Nanoleaf's Innovative Smart LED Enclosures: Officially Launched!
- Introducing WD's Newly Released NVMe SSD: The Perfect Choice for Future Creatives
- Is Your GPU on Its Last Leg? Spot These 6 Critical Warnings Early On!
- Maximizing Your Home Internet: Leveraging Prime Day Deals for Enhanced Wireless Connectivity
- Meta's Horizon OS Powers New Virtual Reality Devices by ASUS & Lenovo
- Now Accessible: The Latest Smart LED Containers by Nanoleaf Hit the Market.
- Optimize Your Images on PC with These Top 5 Sniping Solutions for 2024
- Step-by-Step Guide to Seamlessly Replace Backgrounds on Instagram
- Updated Top 10 Free Surveillance Software for Home Security 2023 Update
- Wealthiest Web Workshops Hosts for 2024
- Title: Preventing Nuisance Automated Calls: Tips for Android Users
- Author: Kevin
- Created at : 2024-09-14 16:18:59
- Updated at : 2024-09-16 16:29:28
- Link: https://hardware-reviews.techidaily.com/preventing-nuisance-automated-calls-tips-for-android-users/
- License: This work is licensed under CC BY-NC-SA 4.0.
